
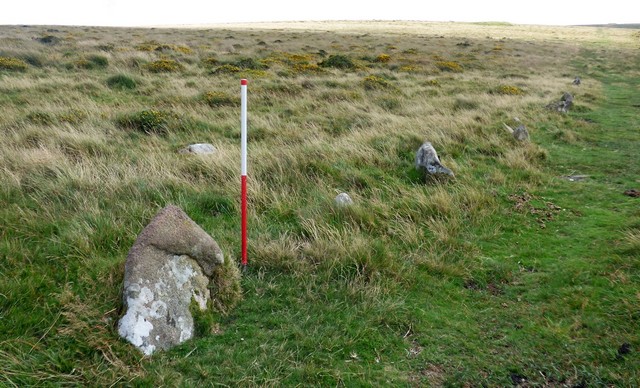
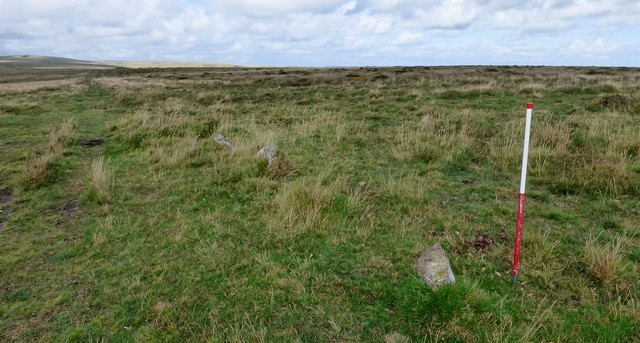
Sinuous stone alignment comprising different sized stones leads past a cairn on the horizon. View from north (Scale 1m).
A single stone row measuring 1,973m long, including at least 557 different sized stones situated mainly on a long ridge. The row is orientated north to south and leads from a kerbed cairn at the lower southern end to a pillar at the north. There are several landscape and sea view reveals. One stone has a small cross carved on it, perhaps an attempt to Christianise the row. The row stands in the vicinity of seven stone rows, large numbers of cairns and some prehistoric round houses.
Location
| England | Devon | Dartmoor | SX 65629 58814 | Lat 50.413786 Long -3.89257 |
Map showing the location of Butterdon Hill stone row.
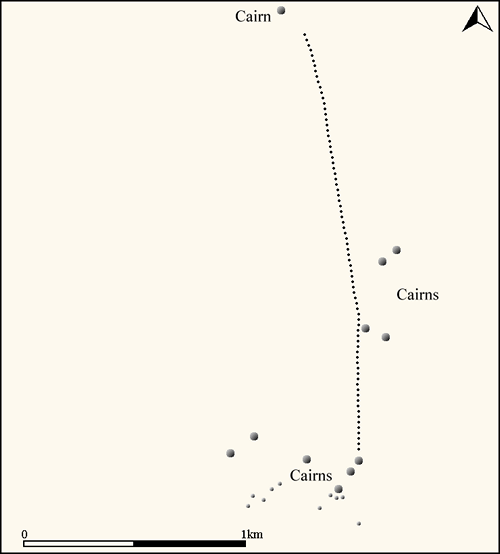
Simplified map showing the Butterdon Hill stone alignment and adjacent cairns. Other stone alignments in the vicinity are not depicted (Source: Google Earth and Butler, J., 1993).
Plan of the Butterdon Hill stone row (Source: GPS Survey by Sandy Gerrard).

Map showing the position of Butterdon Hill, other stone rows and sites.
Characteristics
| Type: Single | Length: 1973m |
| No. of stones: 557 | Size of stones: Small, medium and large |
| Orientation: 175° | Altitude: 380m |
| Upper end: Pillar | Lower end: Cairn |
| Straight (Yes or No) : No | Sea View: Yes |
| Context: Cairns and stone alignments | |
| Notes | |
Other Information
| Public Access: Yes |
| Land Status: National Park |
| Scheduled Ancient Monument: Yes |
Identification
Category: Plausible. No doubts have been expressed regarding the prehistoric interpretation of this row.
Typology
This stone row is of Type S12. Information on this form of stone row and other rows of this type is available here.
Photographs
9th March 2013
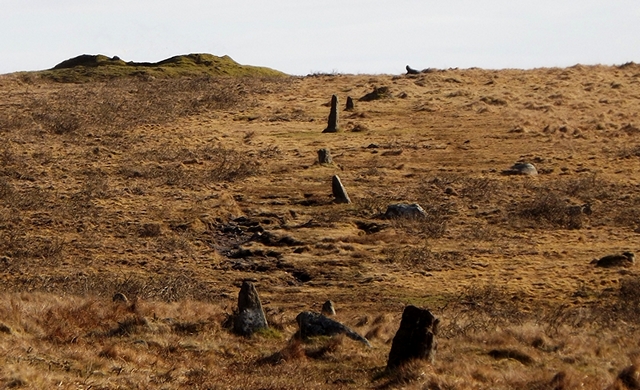
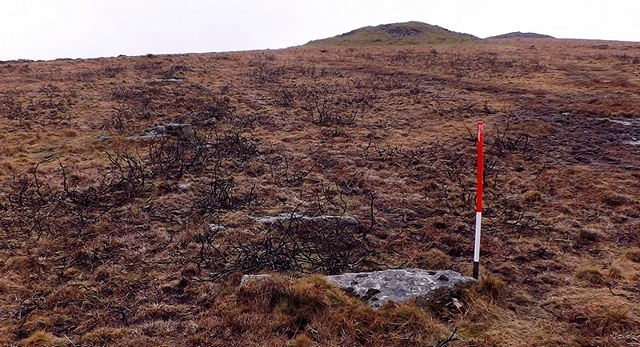
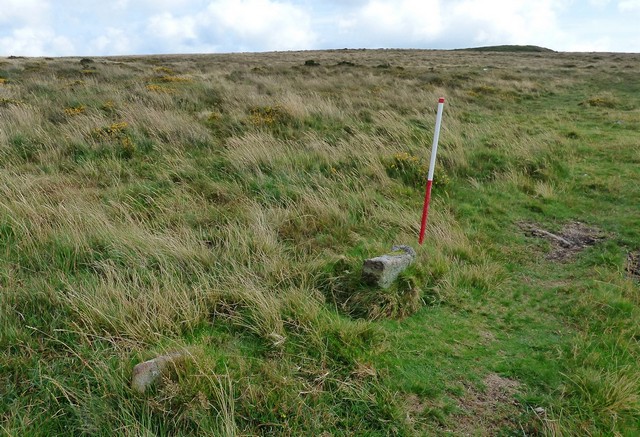
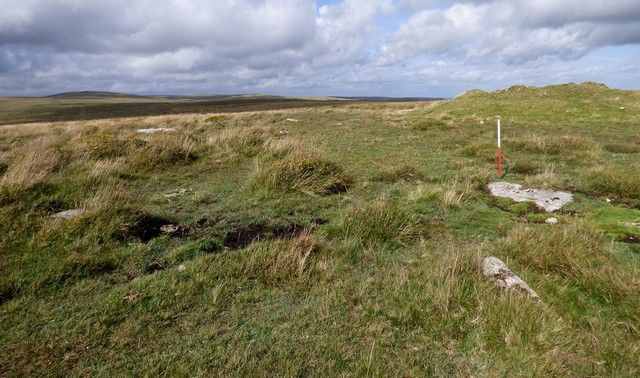
The row deflects past the cairn at SX 65653 59411. This relationship would appear to suggest that the cairn was built before the row. View from the north.

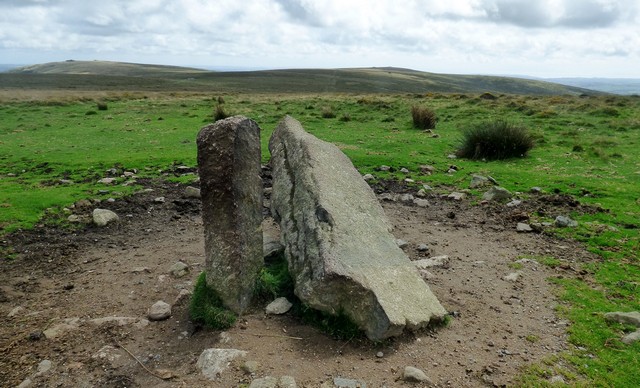
Hobajons Cross at SX 65511 60473 may represent Christianisation of the row. A similar cross exists on the standing stone between the stone alignments at Learable Hill in Caithness and on a stone forming part of a row at North Ings 0n the Yorkshire Moors. View from west (Scale 1m).

A number of the larger stones in the row have been split by drill marks. This method of splitting stones was not introduced until the early part of the 19th century and indicates that at least some of the stones in the row were “recently” erected as boundary markers to separate Harford and Ugborough Moors. View from west (Scale 1m).
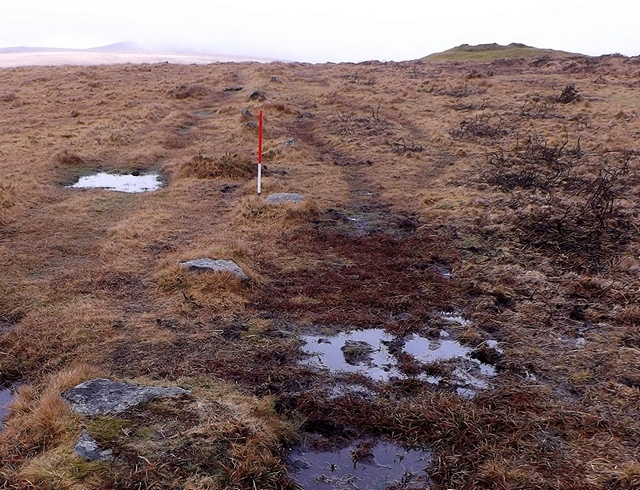
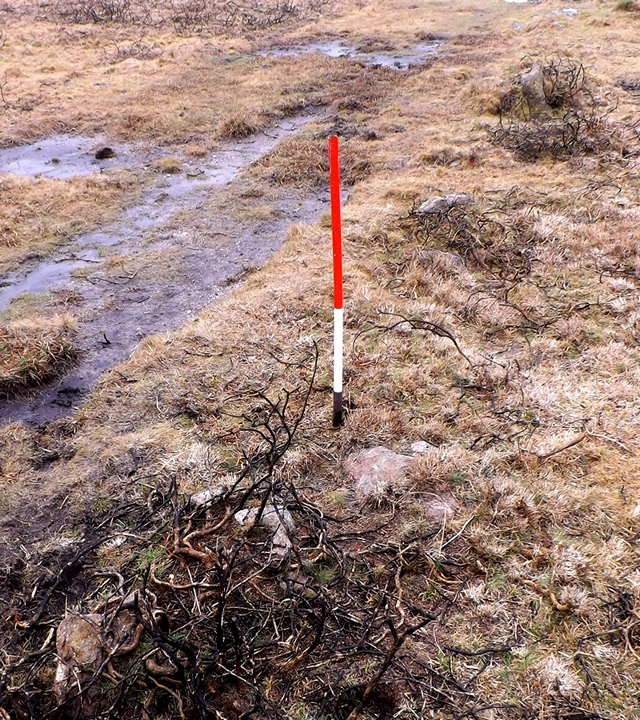
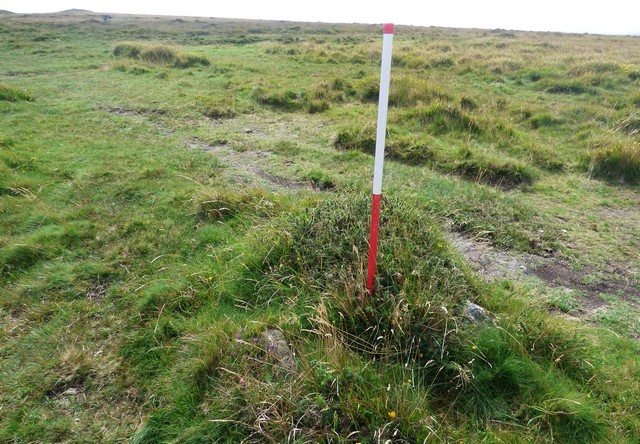
Along this length (c. SX 65511 60473) all the stones are recumbent (Scale 1m).
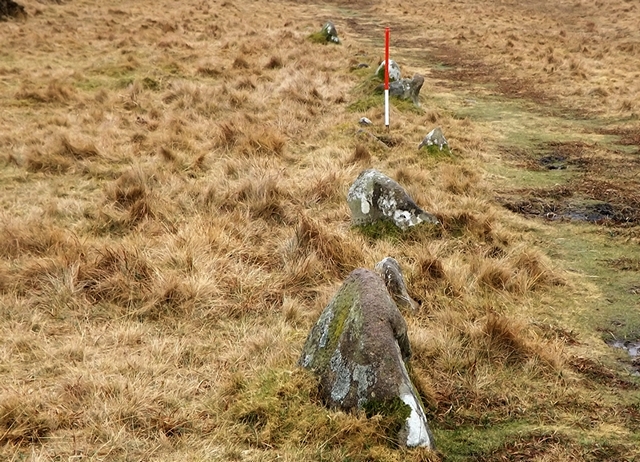
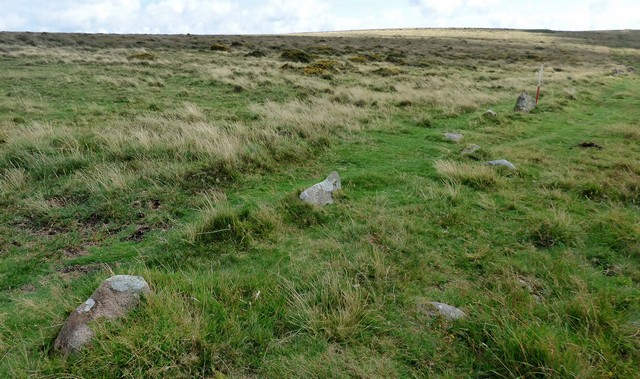
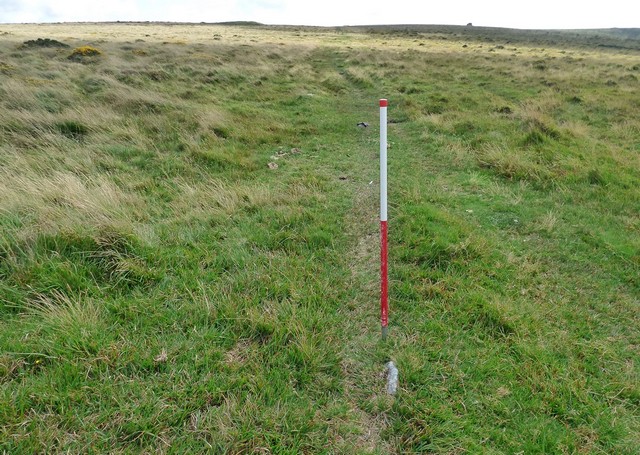
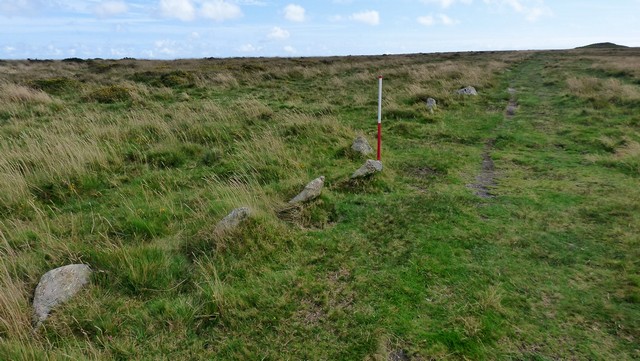
In places the row consists of closely spaced small stones (Scale 1m).
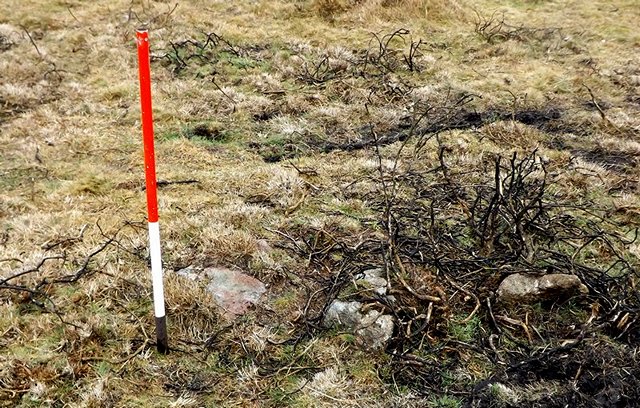
In places the alignment is formed by closely spaced small stones. This characteristic is shared with the row at Bancbryn. View from west (scale 1m).

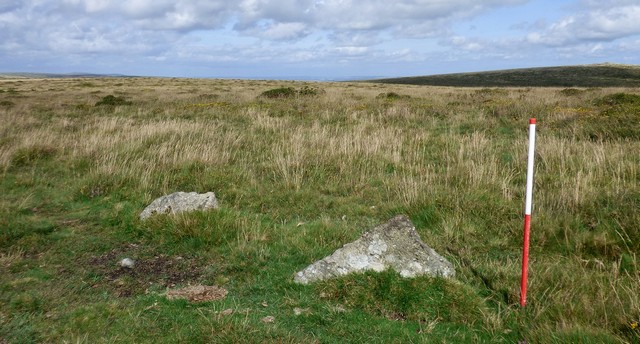
Elsewhere there seems to be bigger gaps between the small stones. View from south (Scale 1m).

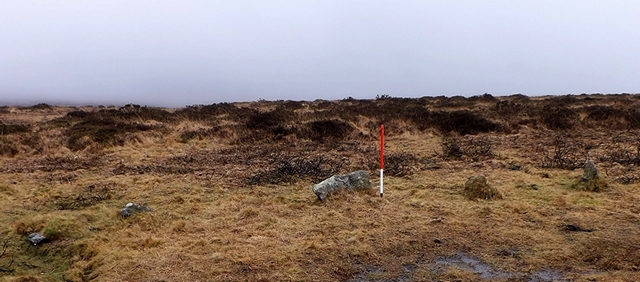
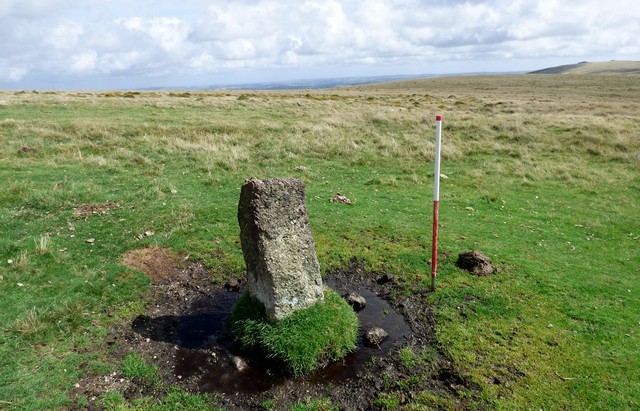
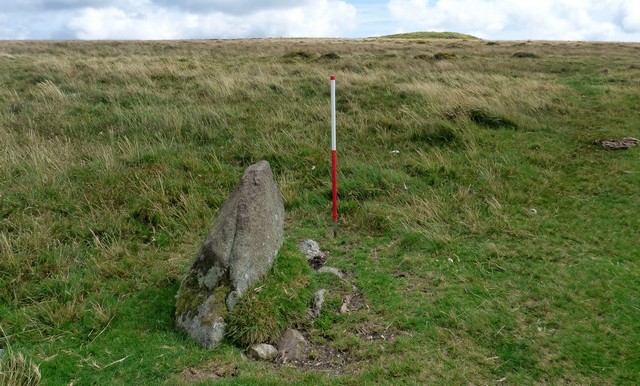
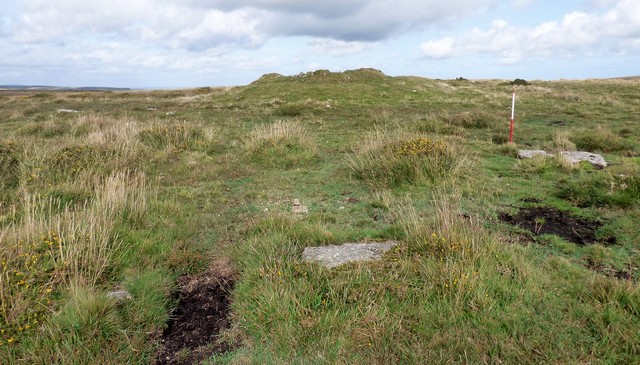
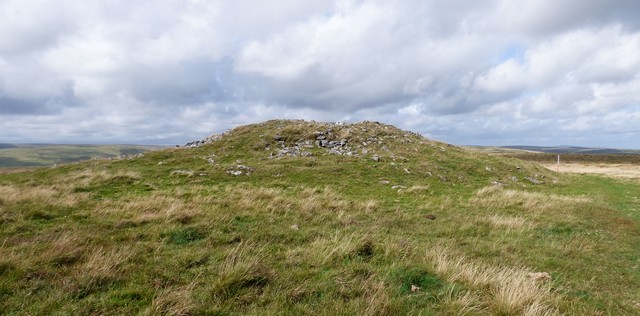
Kerbed cairn at the southern end of the row. This would have originally been a rather impressive structure as the kerb appears to have included substantial orthstats – all of which have since fallen or been pushed. View from south (Scale 1m).
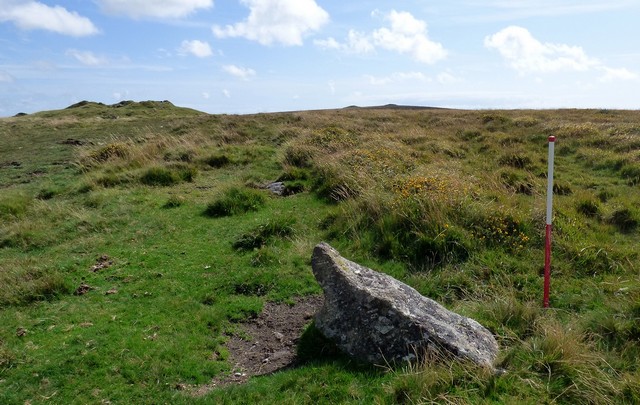
The southern length of the row appears to have originally included large slabs which are now all recumbent. At this point the pair of cairns on the sky line become visually conjoined. As you walk up the row the cairn on the right disappears behind the one on the left. View from north (Scale 1m).

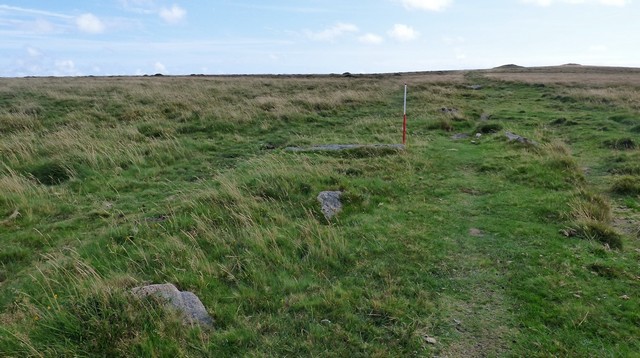
Much of the row includes small and medium sized stones. View from west (Scale 1m).
Much of the row includes small and medium sized stones. View from west (Scale 1m).

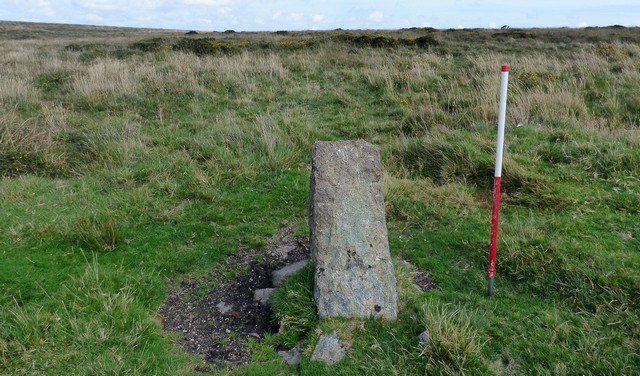
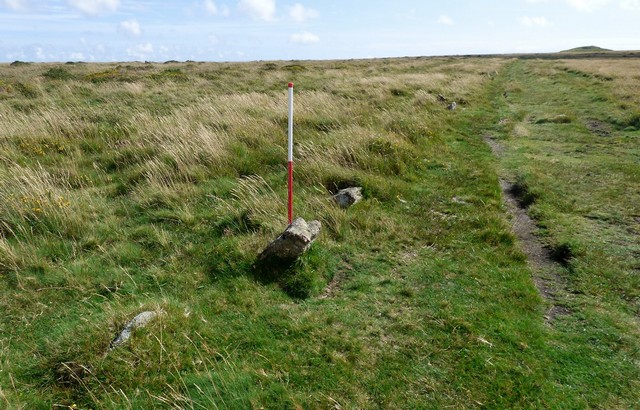
Detail of the row. These stones appear to be in situ (Scale 1m).

Along substantial lengths of the row the stones are now recumbent. The cairns on the sky line visually draw closer together as you walk up the row until finally they appear to touch and then the one of the right disappears behind the one on the left. This sort of visual “treat” may have been of significance to the row builders. It is reminiscent of an eclipse of the sun.

A well preserved length of the row. View from south west (Scale 1m).
Much of the row probably originally looked much like this. View from south east (Scale 1m).
From this point the cairns on the top of Butterdon Hill are hidden by rising ground. They reappear as you walk up the row. The visual links between this row and the landscape have not yet been examined in detail. View from north (Scale 1m).
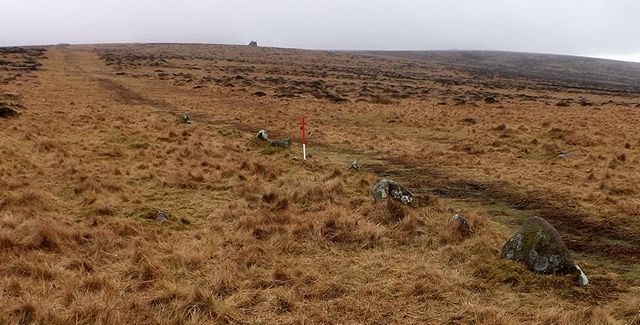
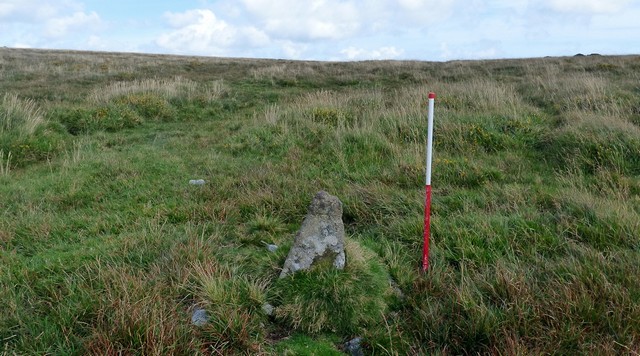
In common with all long rows, this one is sinuous in character and has several shifts in orientation. View from north (Scale 1m).

Sharp changes in orientation. View from north (Scale 1m).
The row passing the cairn at SX 65653 59411. View from the north (Scale 1m).

The Longstone standing stone at SX 65433 60745 probably represents the northern end of the row. From no point on the row is the rest of it visible, although the ends are inter-visible. This means that fresh lengths of the row are revealed whilst others disappear as you walk along it. View from north (Scale 1m).
29th August 2019
The following photographs are arranged from north to south.
Since the visit in 2013 the Longstone has fallen. View from north.
 Stone at SX 65470 60625. View from west (Scale 1m).

Stone at SX 65522 60439. View from west (Scale 1m).
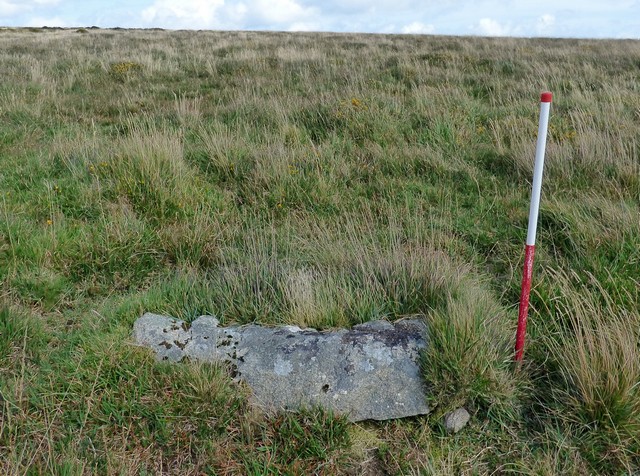
 Stone at SX 65527 60375. View from west (Scale 1m).
Stone at SX 65530 60327. View from west (Scale 1m).

Stone at SX 65534 60289. View from west (Scale 1m).

Stones at SX 65536 60268. View from north west (Scale 1m).
Stones at SX 65548 60158. View from north (Scale 1m).
Tiny stone at SX 65549 60149. View from west (Scale 1m).
Stones at SX 65550 60131. View from north (Scale 1m).
Tiny stone at SX 65560 60070. Hangershell Rock and at least one cairn are visible on the skyline. View from north (Scale 1m).
Stones at SX 65571 59998. View from north west (Scale 1m).
Stone at SX 65580 59943. View from north west (Scale 1m).

Small stones at SX 65587 59896. View from west (Scale 1m).
Stones at SX 65590 59873. View from north west (Scale 1m).

Stone at SX 65592 59854. View from north west (Scale 1m).
Stone at SX 65601 59802. View from west (Scale 1m).
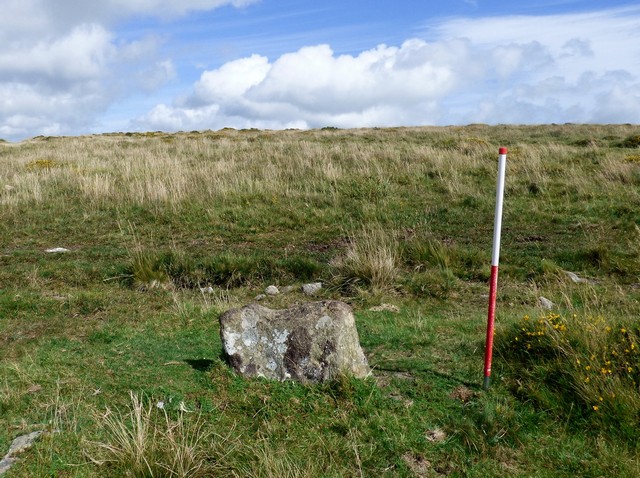
Stone at SX 65609 59738. View from west (Scale 1m).
Drilled stone at SX 65619 59673. This stone formed part of the later boundary and is unlikely to have been part of the original row. View from north west (Scale 1m).
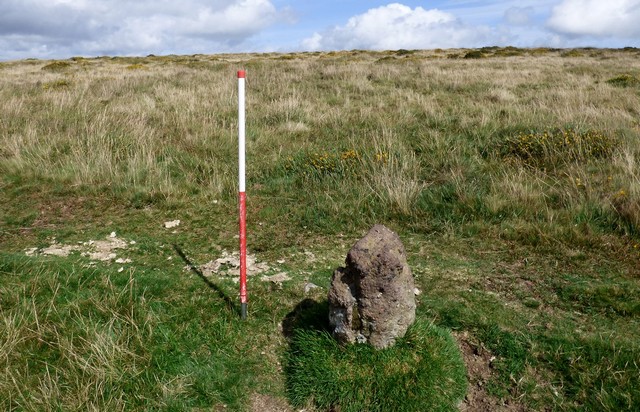
Stone at SX 65624 59620. View from west (Scale 1m).
Drilled stone at SX 65630 59576. This is probably a later boundary stone and would not have formed part of the prehistoric stone row. View from west (Scale 1m).
Stone at SX 65642 59446 with three cairns on the skyline. This sort of visual relationship is likely to have been important to the row builders. View from north (Scale 1m).

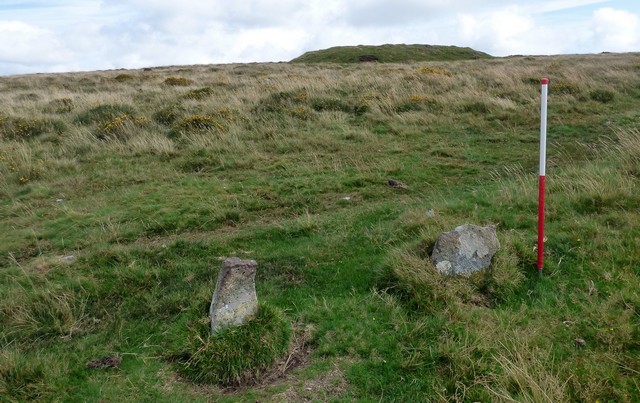
Stones next to the row in the vicinity of the cairn at SX 65644 59418. There are a large number of large recumbent stones at this location. It is possible that they represent the remains of a stone circle or setting associated with the cairn. View from south west (Scale 1m).
Stones next to the row in the vicinity of the cairn at SX 65644 59418 could be the remains of a stone circle or setting. View from south west (Scale 1m).
Stones next to the row in the vicinity of the cairn at SX 65644 59418. View from south (Scale 1m).

Stones at SX 65637 59267. View from west (Scale 1m).
Stones at SX 65636 59186 with a pair of cairns visible on the skyline. View from north (Scale 1m).

Stones at SX 65635 59160. View from north west (Scale 1m).
Stones at SX 65635 59093 with large cairn on the skyline. View from north (Scale 1m).
A sinuous line of stones at SX 65634 59065 with cairn on skyline. View from north (Scale 1m).
Stones at SX 65634 58982. View from south (Scale 1m).
A pair of stones at SX 65635 58967. Some single rows have a paired stones at one point along their length. View from north east (Scale 1m).
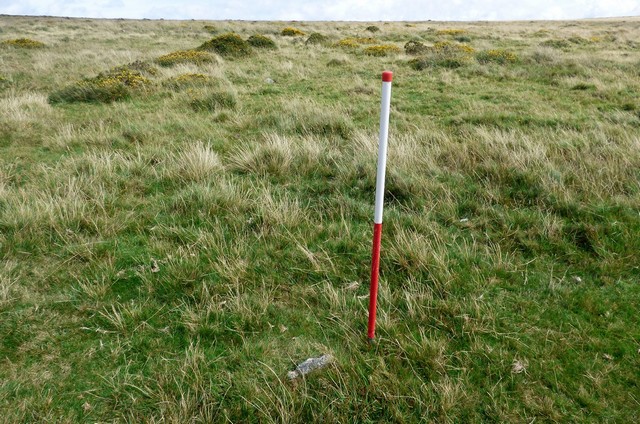
Stones at SX 65632 58882. View from south west (Scale 1m).

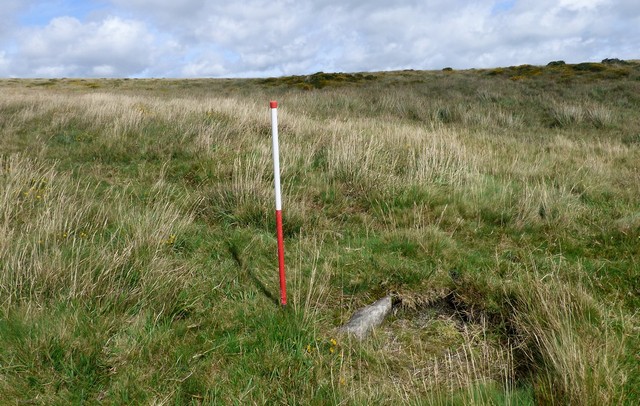
Final stone at the southern end of the row. View from the south west (Scale 1m).

The kerbed cairn at the southern end of the row. View from above and south (Scale 1m).
Cairn at SX 65588 58764 near to the southern end of the row. View from south east (Scale 1m).
Landscape Comment
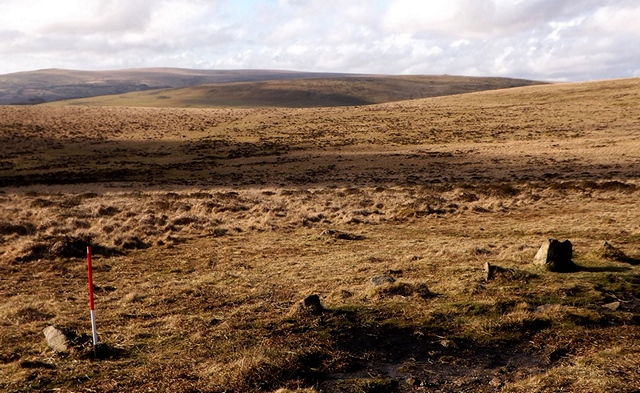
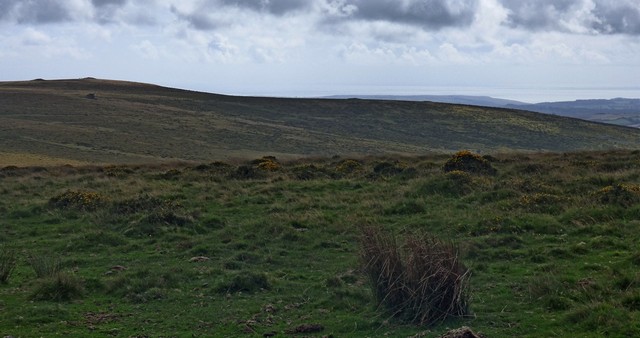
At nearly 2km long there is inevitably a large number of landscape reveals along the length of this row. The length may be a reflection of the builders desires to incorporate many of these and it is notably that as well as the sea a number of cairns appear and disappear. It is perhaps significant that the row is situated to prevent much of the landscape to the east being seen although even this makes appearances at points, particularly at either end. If rows were about being seen or seeing as much as possible from them it would would have been sited a few metres to the east enabling widespread views, but this did not happen and it feels deliberate.
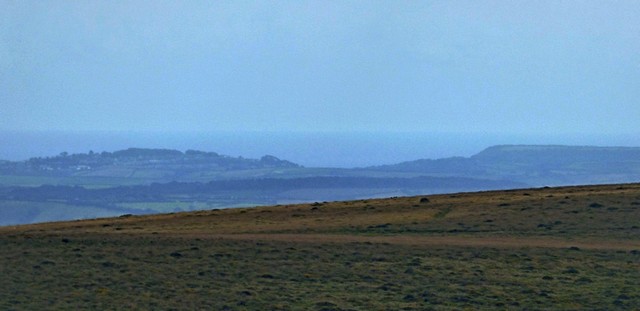
Ever changing views of the sea are available along the length of the Butterdon Hill stone row.
From the northern end of the row four cairns and the sea beyond provide a visual treat which is likely to have been of particular significance to the builders of this row.
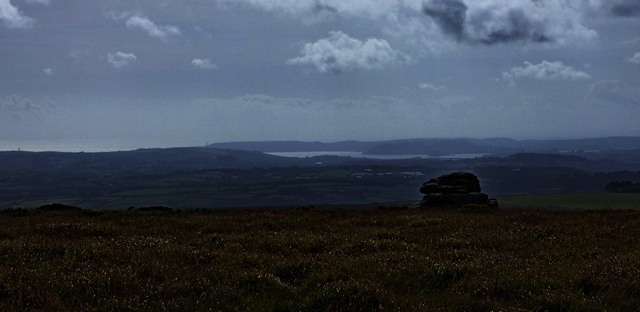
Plymouth Sound and the sea beyond from the row at SX 65644 59431.
Access Information
Car parking is available at SX 64338 59550. Follow the bridleway heading east for 1.2km. The row crosses the bridleway.
Online Resources
Megalithic Portal Modern Antiquarian PastScape Historic Environment Record
Prehistoric Monuments of Dartmoor Prehistoric Dartmoor Walks
Other References
Burl, A., 1993, From Carnac to Callanish – The prehistoric rows and avenues of Britain, Ireland and Brittany, Yale University Press, New York and London, pg. 214.
Butler, J., 1993, Dartmoor Atlas of Antiquities – Vol. 4 – The South-East, Devon Books Exeter, pgs. 24-27.
Timeline
VISITED:- 9th March 2013, 4th May 2018 and 29th August 2019
FIRST PUBLISHED:- 16th January 2016
LAST UPDATED:- 22nd November 2020
